-
1 cup (225 g) unsalted butter, softened
-
1 3/4 cups (350 g) granulated sugar
-
4 large eggs
-
1 tsp vanilla extract
-
1/2 tsp almond extract (optional, but highly recommended)
-
3 cups (360 g) all-purpose flour
-
1/2 tsp salt
For the filling:
-
1 can (21 oz / ~600 g) cherry pie filling (or homemade equivalent)
For the glaze (optional):
-
1 cup (120 g) powdered sugar
-
1–2 tbsp milk
-
1/2 tsp vanilla or almond extract
Preparation
-
Preheat your oven to 350°F (175°C). Grease a 9×13-inch baking dish or line with parchment paper for easy removal.
-
Make the base:
In a large bowl, cream together the softened butter and sugar until light and fluffy. Add eggs one at a time, beating well after each addition. Mix in vanilla and almond extract. -
Add the dry ingredients:
Gradually add flour and salt, mixing just until combined. -
Assemble the layers:
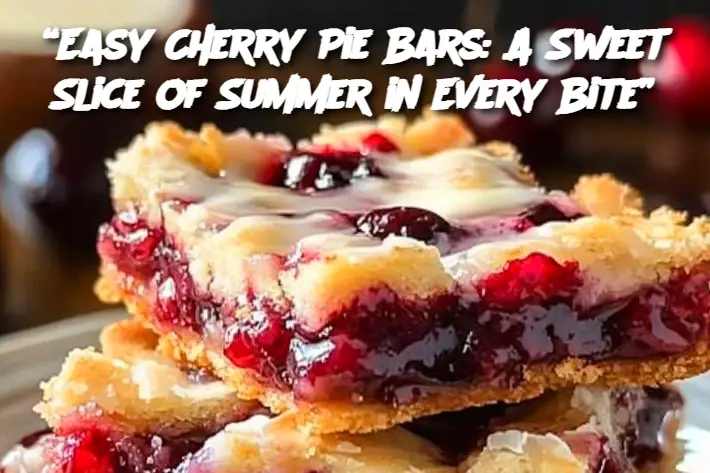
Spread about 2/3 of the batter evenly in the prepared pan. Spoon the cherry pie filling over the batter in an even layer. Drop spoonfuls of the remaining batter over the top — it won’t fully cover the cherries, and that’s okay! -
Bake:
Bake for 35–40 minutes, or until the top is golden and set. Let cool completely in the pan. -
Add glaze (optional):
In a small bowl, whisk together powdered sugar, milk, and extract until smooth. Drizzle over the cooled bars before slicing.
Serving and Storage Tips
-
Serving: Serve at room temperature or slightly chilled. These bars pair beautifully with a scoop of vanilla ice cream or a dollop of whipped cream.
-
Storage: Store in an airtight container at room temperature for up to 3 days, or refrigerate for up to 5 days.
-
Freezing: These bars freeze well! Wrap tightly and store in the freezer for up to 2 months. Thaw overnight in the fridge.
Variants
-
Homemade cherry filling: Make your own by simmering pitted cherries with sugar and cornstarch until thickened.
-
Berry twist: Swap cherry pie filling for blueberry, raspberry, or mixed berries.
-
Nutty addition: Add a handful of sliced almonds on top before baking for crunch and elegance.
-
Lemon glaze: Replace vanilla with lemon juice in the glaze for a bright, citrusy finish.
-
Gluten-free: Use a 1:1 gluten-free flour blend in place of regular flour.
FAQ
Q: Can I use fresh cherries instead of canned filling?
A: Absolutely! Just cook the fresh cherries with a little sugar, lemon juice, and cornstarch until thick and jammy before using.
Q: Why does the top layer of batter look patchy?
A: That’s how it’s supposed to look! The cherry filling peeks through, giving it a rustic, pie-like appearance.
Q: Can I make this in advance for a party?
A: Yes — these bars can be made 1–2 days ahead and stored in the fridge until ready to serve.
Q: Is the glaze necessary?
A: Not at all, but it adds a sweet finish. Feel free to skip it for a more classic pie flavor.
Q: Can I use a different pan size?
A: A 9×13-inch pan works best for balanced layers. A smaller pan will result in thicker bars and may require longer baking.
