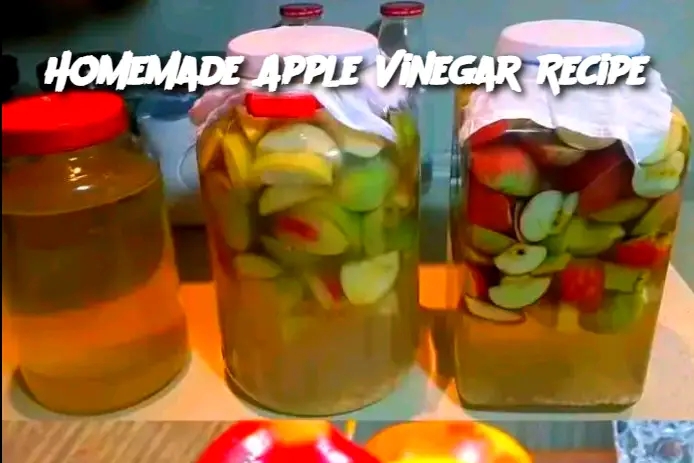
Step 1: Prepare the Apples
Wash the apples thoroughly to remove any dirt or chemicals.
If using whole apples, chop them into small pieces. You can also use apple scraps like peels and cores, making this an excellent zero-waste recipe.
Step 2: Assemble in a Jar
Place the apple pieces or scraps into a clean glass jar, filling it about 3/4 full.
Dissolve the sugar in a cup of warm filtered water and pour it over the apples. Add enough additional filtered water to submerge the apples completely.
Step 3: Cover and Ferment
Cover the jar with a cheesecloth or breathable cloth and secure it with a rubber band or string. This allows airflow while keeping dust and insects out.
Place the jar in a warm, dark spot, such as a pantry or cupboard, at room temperature (around 20–25°C or 68–77°F).
Step 4: Stir Daily
Stir the mixture with a clean wooden or plastic spoon daily to prevent mold from forming on the apple pieces that float to the surface.
After about 1–2 weeks, the mixture will start to bubble slightly. This indicates fermentation is occurring.
Step 5: Strain and Continue Fermentation
After 2–3 weeks, strain the liquid through a fine mesh sieve or cheesecloth to remove the apple solids.
Pour the liquid back into the jar, cover it with the cloth, and let it ferment for another 3–4 weeks. Stir occasionally.
Step 6: Check for Readiness
Taste the liquid after 4–6 weeks. It should have a tangy, vinegar-like flavor. If it’s not strong enough, let it ferment for another week or two.
Step 7: Store the Vinegar
Once the desired flavor is achieved, transfer the vinegar into clean glass bottles with airtight lids.
Store in a cool, dark place. Homemade apple vinegar can last for up to a year when stored properly.
Tips for Success

Homemade Apple Vinegar Recipe
continued on next page