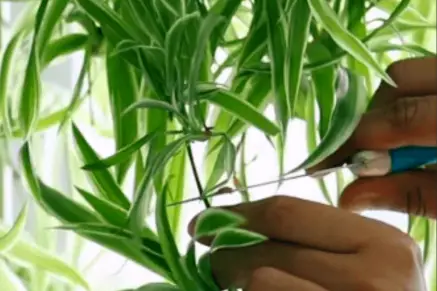
Maintain Appearance: Removes yellowing or damaged leaves and keeps the plant looking lush and vibrant.
Encourage Growth: Stimulates new growth and prevents overcrowding.
Control Size: Prevents the plant from becoming too large for its space.
Manage Spiderettes: Trims off excess plantlets that can drain the mother plant’s energy.
When to Prune a Spider Plant
Anytime you notice brown, yellow, or wilted leaves.
If the plant looks overgrown or out of shape.
After the growing season (spring and summer) to encourage fresh growth for the next season.
What You’ll Need
Clean, sharp scissors or pruning shears.
A damp cloth or disinfectant to clean your tools (prevents disease).
Optional: A small pot with soil if you plan to propagate spiderettes.
Step-by-Step Guide to Pruning a Spider Plant
1. Inspect the Plant
Look for yellowing, browning, or damaged leaves. These should be removed first.
Identify overgrown sections or crowded areas that need thinning out.
Spot any spiderettes (baby plants) that you’d like to trim off or propagate.
2. Trim Damaged or Dead Leaves
Cut off any yellow or brown leaves at the base where they meet the main stem.
If only the tips of leaves are brown, you can trim the brown portion, following the natural shape of the leaf.
3. Thin Out Overgrown Areas
If the plant looks too dense, cut back a few healthy leaves near the base to allow light and air to reach the center of the plant.
Avoid removing more than 20–25% of the plant at once to prevent stress.
4. Remove Spiderettes (Optional)

How to Prune a Spider Plant: A Step-by-Step Guide
continued on next page