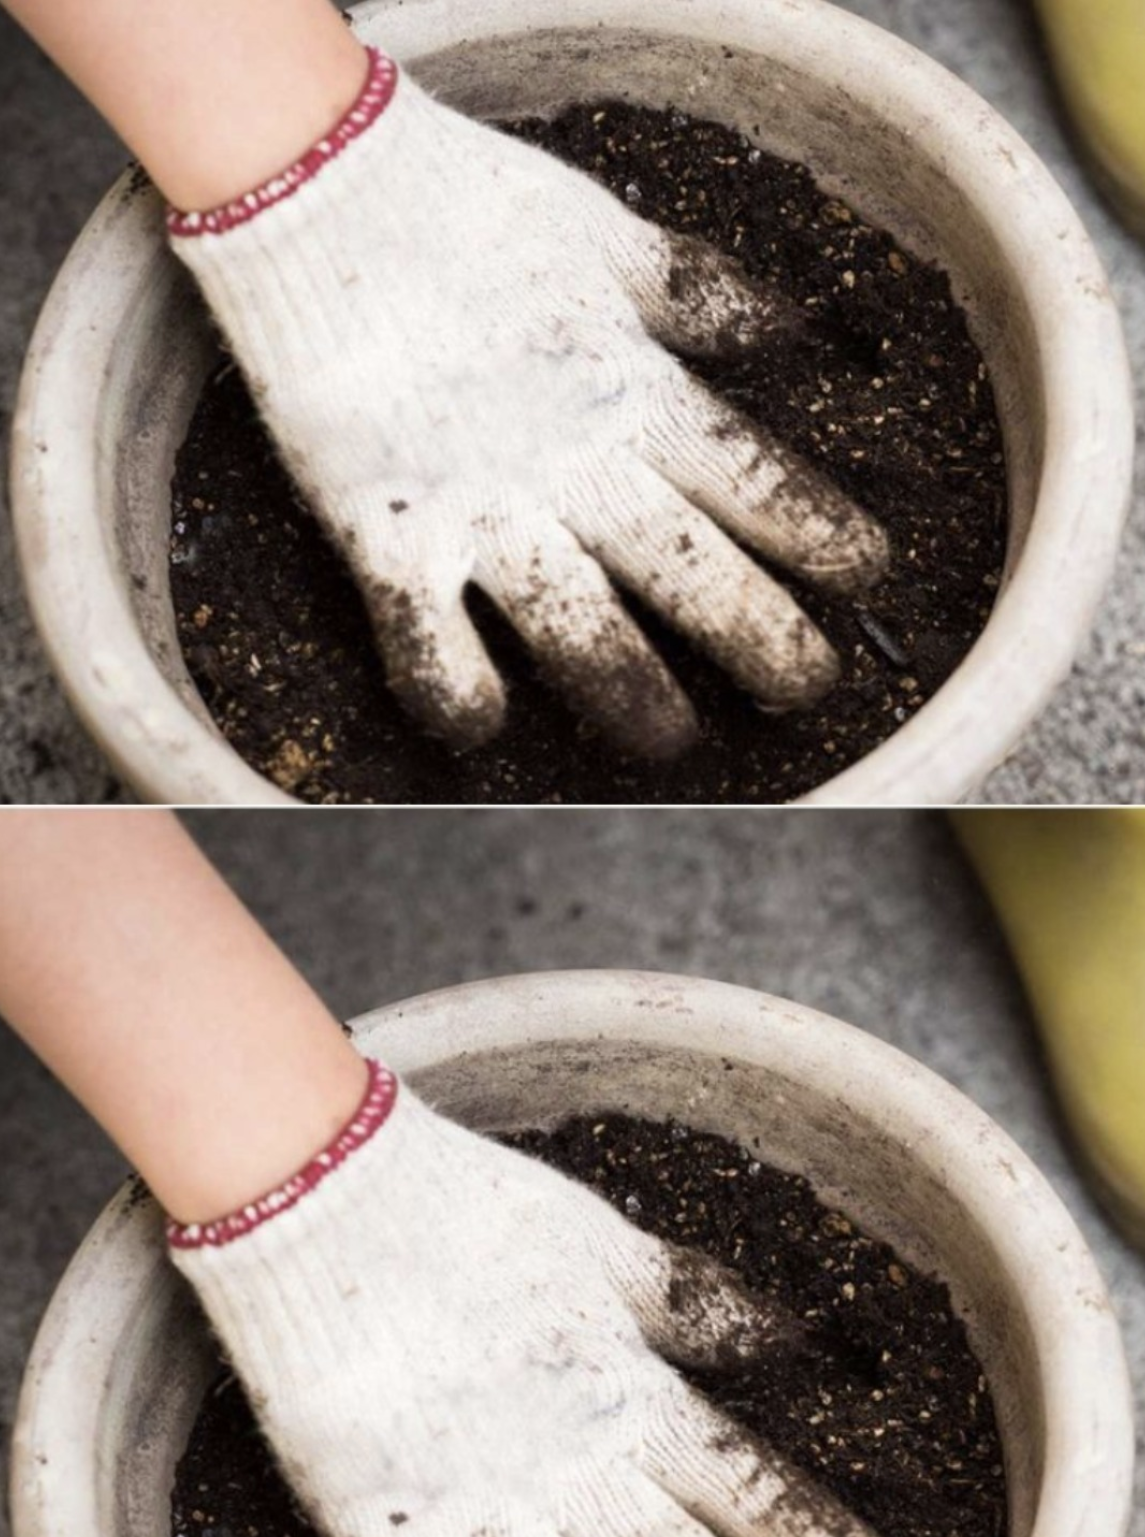
- Bake It (Oven Method) : Spread the soil evenly on a baking tray and bake it in the oven at 180–200°F (82–93°C) for about 30 minutes. This kills pathogens, weed seeds, and pests. Be sure to ventilate your kitchen, as the process can produce an earthy smell.
- Solarize It : Place the soil in a black plastic bag or container and leave it in direct sunlight for 4–6 weeks. The heat will naturally sterilize the soil.
Step 3: Refresh Nutrients
- Add Compost : Mix in 20–30% compost to replenish organic matter and nutrients. Compost improves soil structure, water retention, and microbial activity.
- Supplement with Fertilizer : Add a balanced slow-release fertilizer or amendments like bone meal, blood meal, or kelp powder to boost nutrient levels.
- Incorporate Perlite or Vermiculite : If the soil has become compacted, mix in perlite or vermiculite to improve drainage and aeration.
Step 4: Test and Adjust pH
- Use a soil test kit to check the pH level of your rejuvenated soil. Most plants prefer a slightly acidic to neutral pH (6.0–7.0).
- Adjust the pH if needed:
- To Lower pH (Make More Acidic) : Add sulfur or pine needles.
- To Raise pH (Make More Alkaline) : Add lime or wood ash.
Step 5: Store Properly
- If you’re not using the soil immediately, store it in a clean, airtight container to prevent contamination from pests or moisture. Label the container with the date and any amendments you’ve added.
Tips for Success
- Avoid Reusing Soil from Diseased Plants : If plants in the soil had serious fungal or bacterial infections, it’s safer to dispose of the soil to avoid spreading disease.
- Blend Old and New Soil : For best results, mix rejuvenated soil with fresh potting mix in a 50/50 ratio. This ensures optimal texture and nutrient content.
- Repurpose Soil Creatively : Even if the soil isn’t ideal for potted plants, you can use it as a base layer in raised beds, for mulching, or to fill gaps in your garden.
Benefits of Rejuvenated Soil
- Cost Savings : Reduces the need to purchase new soil every season.
- Environmental Impact : Minimizes waste and conserves natural resources.
- Customizable : Allows you to tailor the soil’s composition to meet the specific needs of your plants.
Final Thoughts
Reusing old potting soil is a sustainable practice that benefits both your wallet and the planet. By taking the time to inspect, sterilize, and refresh your soil, you can create a healthy growing medium for your plants while reducing waste and conserving resources. Whether you’re a seasoned gardener or just starting out, this eco-friendly approach to soil management is a win-win for your garden and the environment.
Your turn! Have you ever tried reusing old potting soil? Share your tips or experiences below—I’d love to hear from you! 🌿
