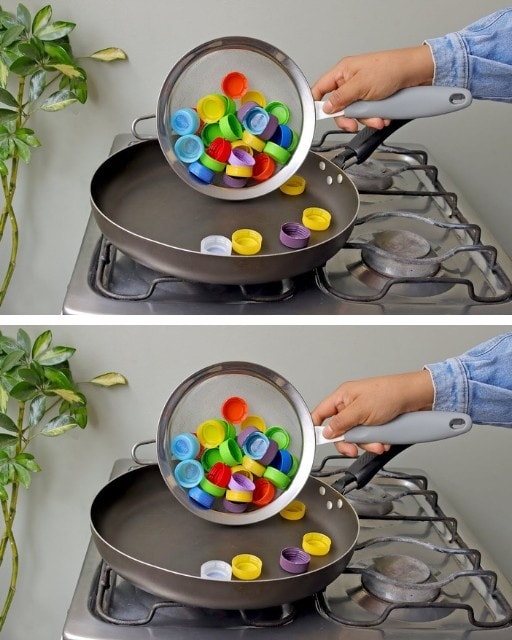
- Initial Preparation:
- Place a sheet of parchment paper on the surface where you will be working. This will help prevent bottle caps from sticking to the work area.
- Creating the Flowers:
- Make sure you have clean and dry bottle caps. You can collect lids of different colors to give a more interesting touch to your creations.
- Turn the stove on to medium heat and place the pan on the stove.
- Once the pan is hot, carefully place the bottle caps on the parchment paper, forming the shape of a flower. You can experiment with different patterns and layouts to create variety.
- Pressing and Forming:
- Use a flat, heavy object, such as a rock or hammer, to gently press down on the bottle caps. This will help remove any air trapped between the lids and help them melt and bond properly.
- Maintain the desired shape while pressing so the lids melt and join together into one piece. Remember to be delicate so as not to deform the shape of the flower.
- Attention to Fire:
- Keep an eye on the fire. It is important to be careful to prevent the lids from melting too much. If the heat is too high, the lids could melt more than desired and ruin the idea.
- Cooling and Finishing:
- Once the lids are firmly attached and form a solid flower, remove the pan from the heat.
- Let the bottle cap flowers cool completely before handling them.
- Carefully remove the flowers from the parchment paper.
- Final Touch:
- If you wish, you can add a rustic touch to your flowers by gluing a piece of raffia or natural jute to the back of each flower. This will not only add a decorative look but will also serve as a non-slip base.
And there you have it! Now you have beautiful flowers made from plastic bottle caps that you can use as coasters or placemats. These creations are not only functional, but they also help reduce waste by upcycling bottle caps in a creative way. Enjoy your new handmade creations and surprise your friends and family with your craftsmanship talent!
continued on next page
