-
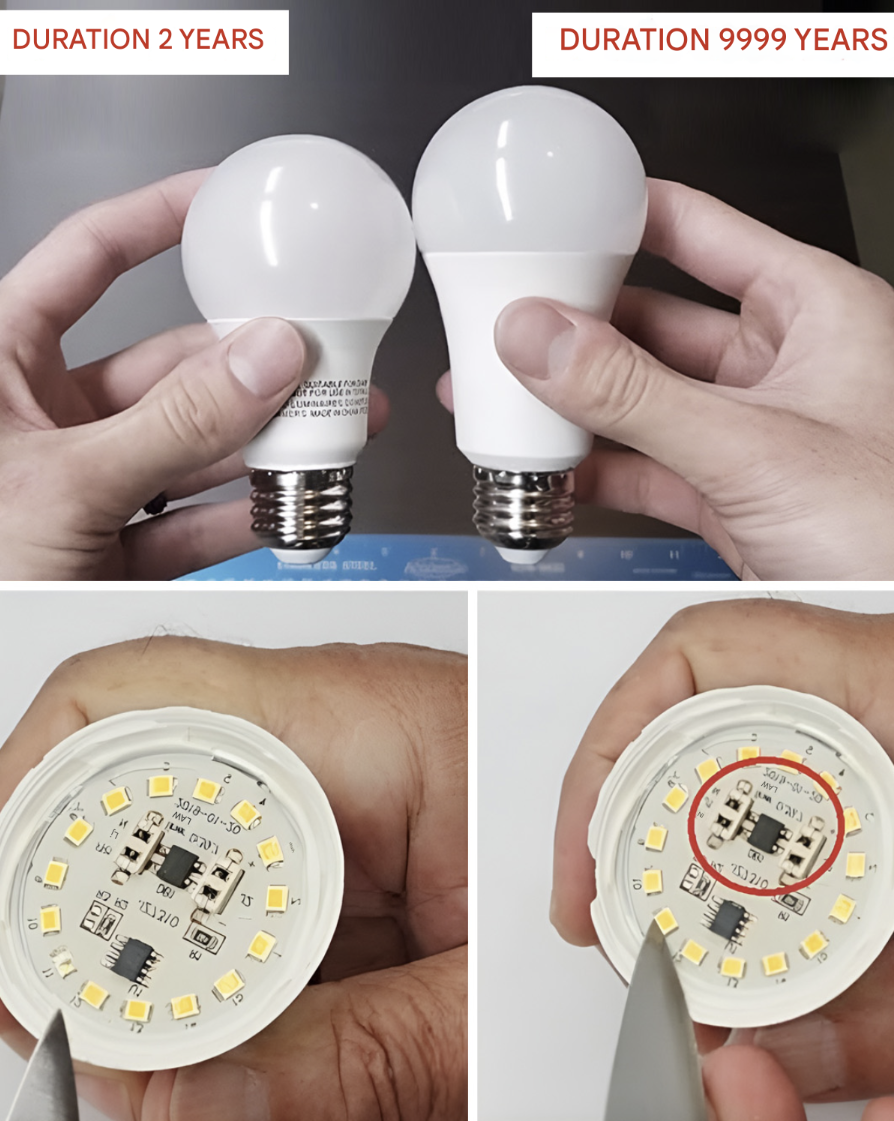
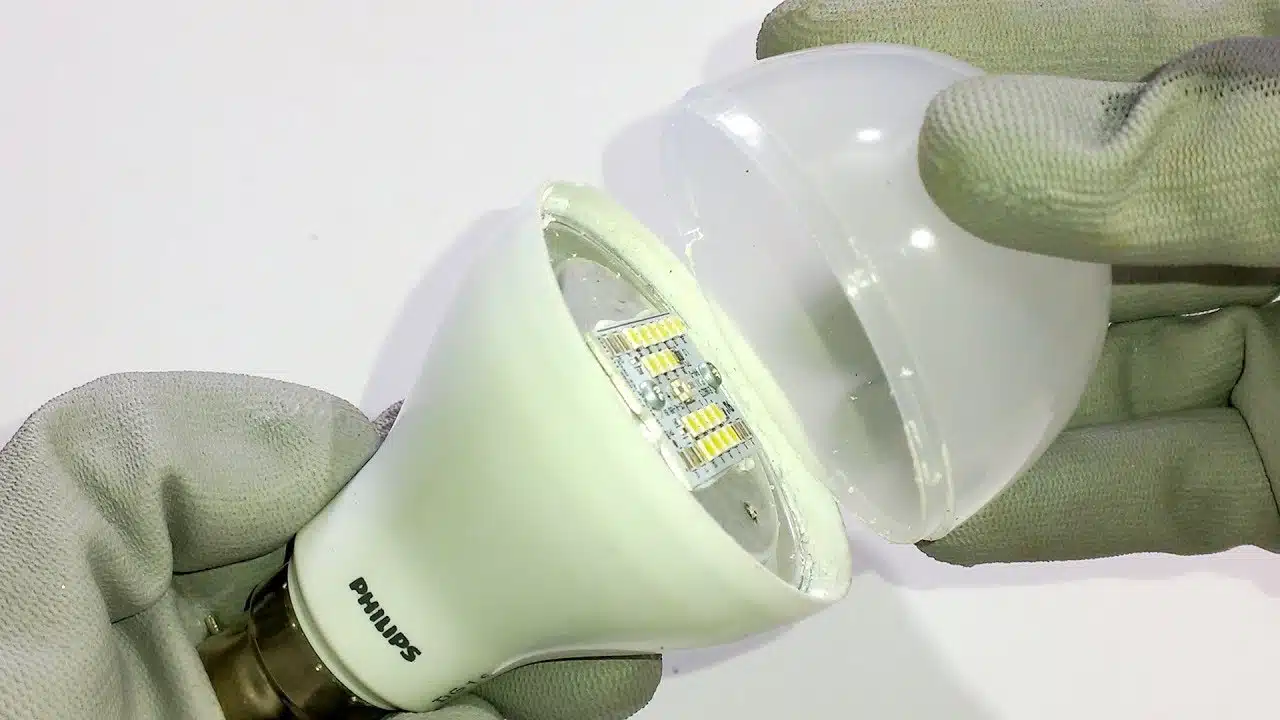
Open the LED bulb
Before handling, always unplug the lamp to avoid any risk of electrocution.
- If your bulb is removable, use a screwdriver to open it.
- Carefully remove the diffuser dome. This is often clipped on or secured with hot silicone.
- You will discover a board with several small LEDs and a small power supply (driver).
-
Add resistance to decrease voltage
To make the bulb heat up less, you can reduce the electrical voltage passing through it.
- Insert a resistor ( 1 W, 100 to 330 ohms depending on the bulb ) between the driver and the power input.
- This operation will slightly decrease the light intensity but will have a positive effect on the internal temperature.
- If you are not familiar with welding, ask for help or consult a professional.
Tip: A slightly reduced intensity is practically imperceptible to the naked eye but can double or even triple the life of your bulb!
-
Improve heat dissipation
Some LEDs come with a built-in heat sink . If not, one can be added to prevent overheating.
- Apply thermal paste between the existing heatsink and the base.
- If the bulb doesn’t have one, add a small metal heat sink .
- This will allow the heat to be better evacuated, preserving the internal components.
-
Reduce the number of active LEDs (optional)
On some models, it is possible to disconnect 1 or 2 LEDs from the chain.
- This reduces the overall load and, therefore, the heat generated .
- This option is especially valid if the bulb is used in areas where maximum brightness is not essential .
